5 Tips on Stitching with Silk Threads
 Silk threads are known simply as the most beautiful fibers you can use — in clothing, draperies, and needlework. This natural fiber gives a brighter sheen, offers richer colors, and transforms even a basic design into something more beautiful. Needleworkers have been using silk threads for centuries, and today you have the opportunity to experience this versatile fiber for your own projects. Here are a few tips and techniques to get you started happily stitching with silk.
1. Cover the rough edges of your canvas or fabric before you begin stitching.
It is a small step with huge dividends; your beautiful silk thread will be ruined if you snag it on jagged edges. Simply cover needlepoint canvas edges with tape, or turn fabric edges under with a running stitch. If you are also using wooden stretcher bars to hold your canvas, sand away any burrs or chipped spots.
 2. To keep silk (or any thread) from snagging on rough skin, simply get into the habit of using a hand cream.
A natural, non-greasy cream is safer when handling fibers and will make handwork much more pleasurable. Doug Kreinik, owner of the Kreinik thread company, uses a homemade olive oil mixture to exfoliate and moisturize his hands. Do this as a regular routine, such as at bedtime, and your hands will be softer when stitching (just don't use the oil and then immediately stitch). Just get into the moisturizing habit; your hands will look younger, feel soft, and your stitching will look better.
3. Don't just pick up any needle you find in your pincushion and start using it with your sublime silk fibers.
Needles - and needle size - matter more in making a thread "behave" than any other factor. A needle with too-small of an eye or a nick in the eye will cause a thread to fray. A rusty needle can discolor fabric and thread, and also cause abrasion on your ground material which will tear up your thread. A needle that is too thin won't open the hole in the canvas enough to let the thread pass through easily. When stitching with a smooth and lustrous fiber like silk, use a quality, clean needle that is large enough to accommodate the thread.
4. Maximize the natural luster of silk by avoiding short cuts.
That is, don't rush it. We all want to stitch quickly and get the instant gratification of a finished project. However, impatience never creates beautiful needlework. You spend money on the canvas, threads, finishing, not to mention give your time in placing each stitch, so slow down and enjoy the experience. For example, use short lengths (like 15 to 18 inches) to reduce the number of passes through the canvas and thus keep the thread from looking worn. Let your needle dangle every so often to undo the natural twisting that occurs during handwork and thus avoid knotting. Lay your stitches neatly and evenly to maximize coverage and thus offer more surface for the beautiful light reflection of silk.
 5. Don't fear the cleaner.
We often think of silk as being delicate, but it is actually one of the strongest of all natural fibers. Silk also has a reputation for being high-maintenance, often due to a 'dry clean only' label. In reality, yes, you want to clean your silk (silk blouses, silk draperies, silk stitchery) carefully to maintain a long and lustrous life. Dry cleaning is recommended for optimum maintenance, but this care and cost factor shouldn't deter you from using silk. You know how disappointing it is when you wash a silk blouse and it loses its luster; it is worth the effort and money to care for your possessions and creations. Unless you have created a silk-needlepointed blouse, most likely you won't need to have your project dry cleaned often. Unless you stitched outside while gardening in the dirt, your needlework should start out clean. Simply interview your local dry cleaner on how they clean heirlooms to find someone you can trust. Can you wash silk? While dry cleaning is preferable, you can hand wash most silk in lukewarm water with a mild, natural soap. However, no thread on this earth is completely colorfast, so do a spot test. Also keep in mind that water, heat, agitation from a washing machine, wringing, or friction with other textiles can all dull the natural luster of your dreamy silk.
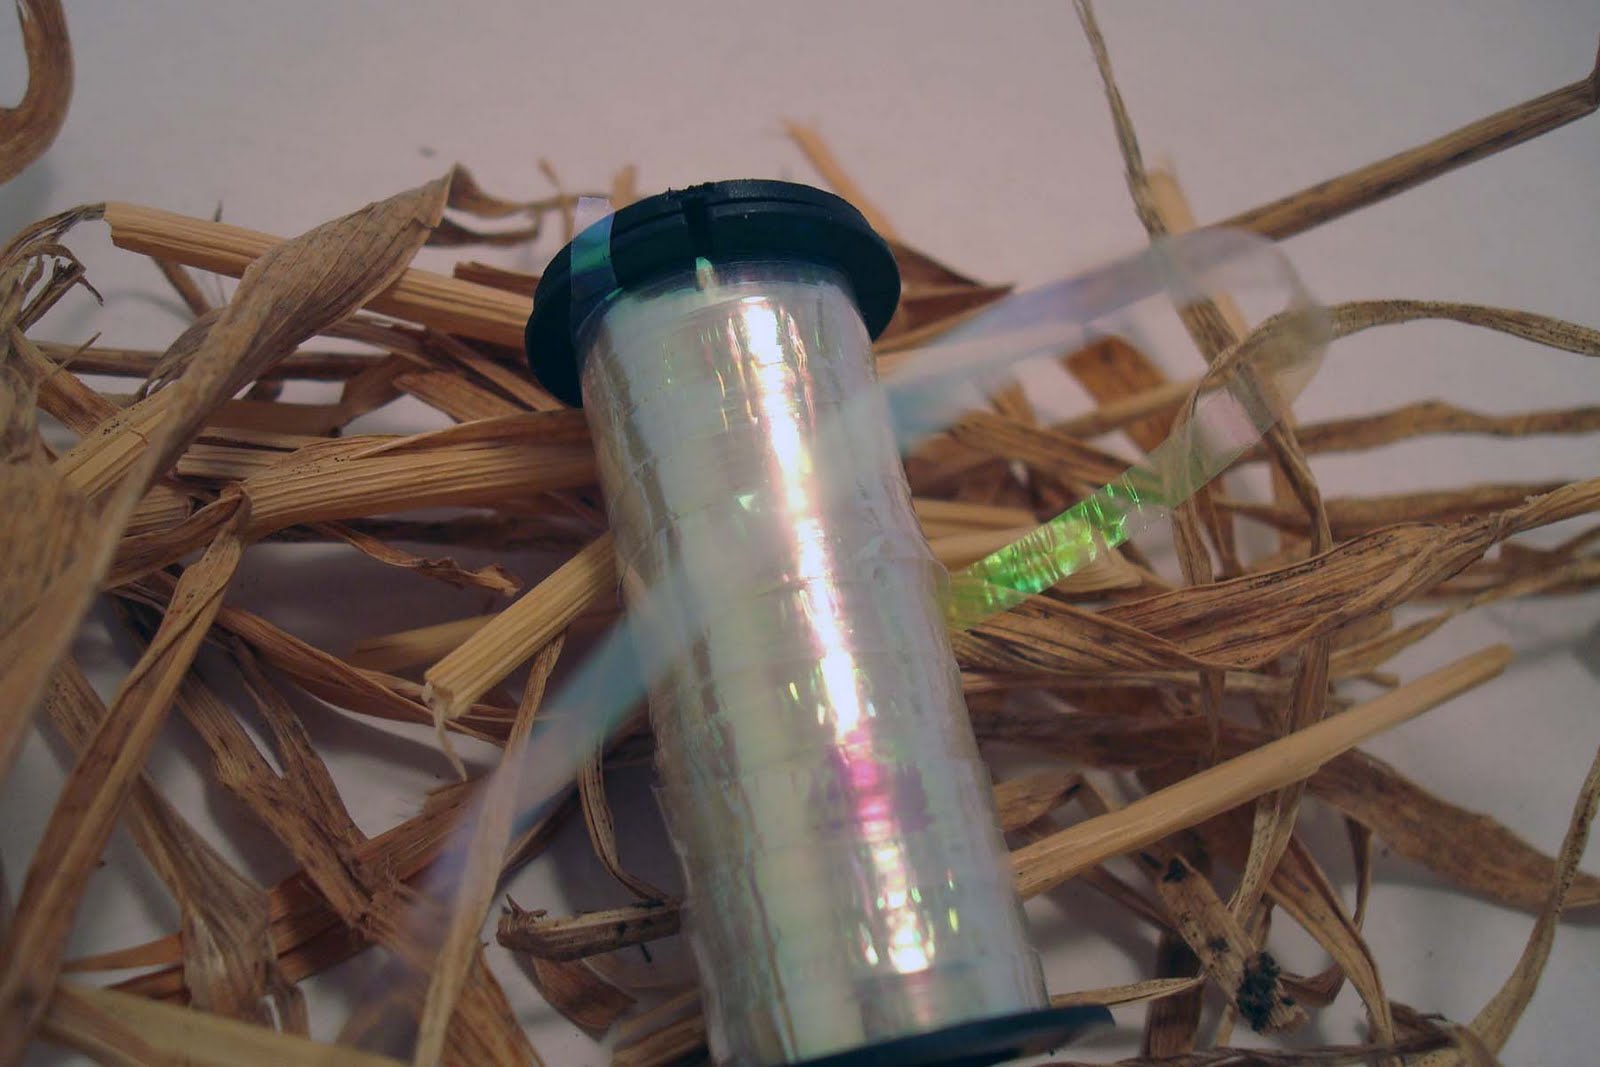
Silk is a natural fiber with a translucent cellular structure, which allows it to absorb dyes deeply and to reflect light to a high degree, giving the finished project a pure color and a beautiful luster. When worked in needlepoint, cross stitch, quilting, and embroidery, silk has a bright sheen unrivaled by other threads. Its loft provides voluminous coverage, and its softness spoils your fingers. Silk threads can be used in all stitches, in all types of needlework, to make all projects brighter, more colorful, richer-looking, and simply more beautiful. So relax, use these easy tips, and treat yourself to silk thread for your next project.
For more information:
- Click here to download a Kreinik Silk Color Chart
- Click here to buy Kreinik Silk Threads
- Click here to browse our FREE projects
- Click here to watch a video about using Kreinik Silk Threads