You Are My Sunshine String Art
>> Tuesday, June 5, 2018 –
diy crafts,
Kreinik,
metallic threads,
string art,
sunshine string art,
you are my sunshine
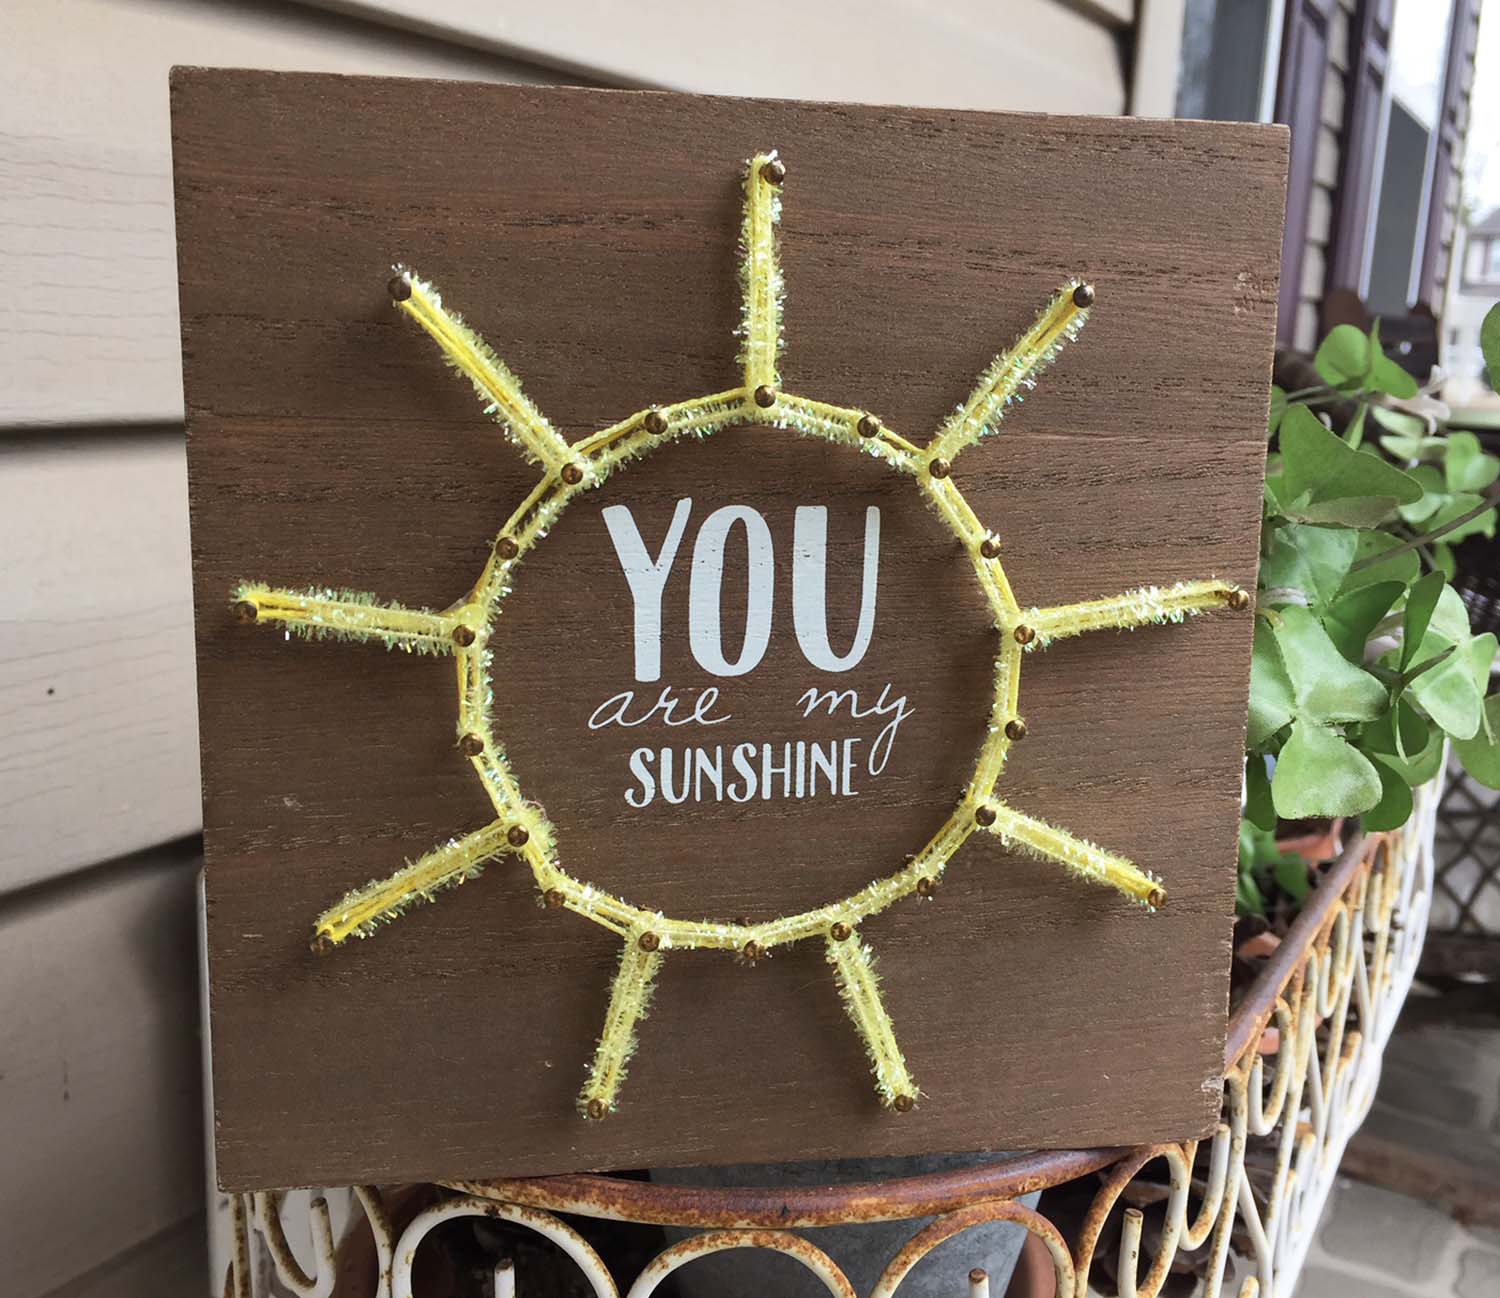
Most of us love browsing stores like Home Goods, TJ Maxx, Marshalls, Michaels, Hobby Lobby, and the like for inexpensive home decor items. You are probably seeing a lot of string art designs that are cute and inexpensive. Here’s a quick and easy way to dress up those purchases, turning them into DIY, high-end, artsy, etsy-esque, personalized creative designs great for your home, apartment, dorm, or gift giving. By simply replacing the boring yarn with a metallic or glow-in-the-dark thread, for instance, you can go from ho-hum to WOW. Here’s how to do it:
What we used in this model:
- You Are My Sunshine string art from TJ Maxx (from www.NielsenBainbridgeGroup.com)
- sharp embroidery scissors
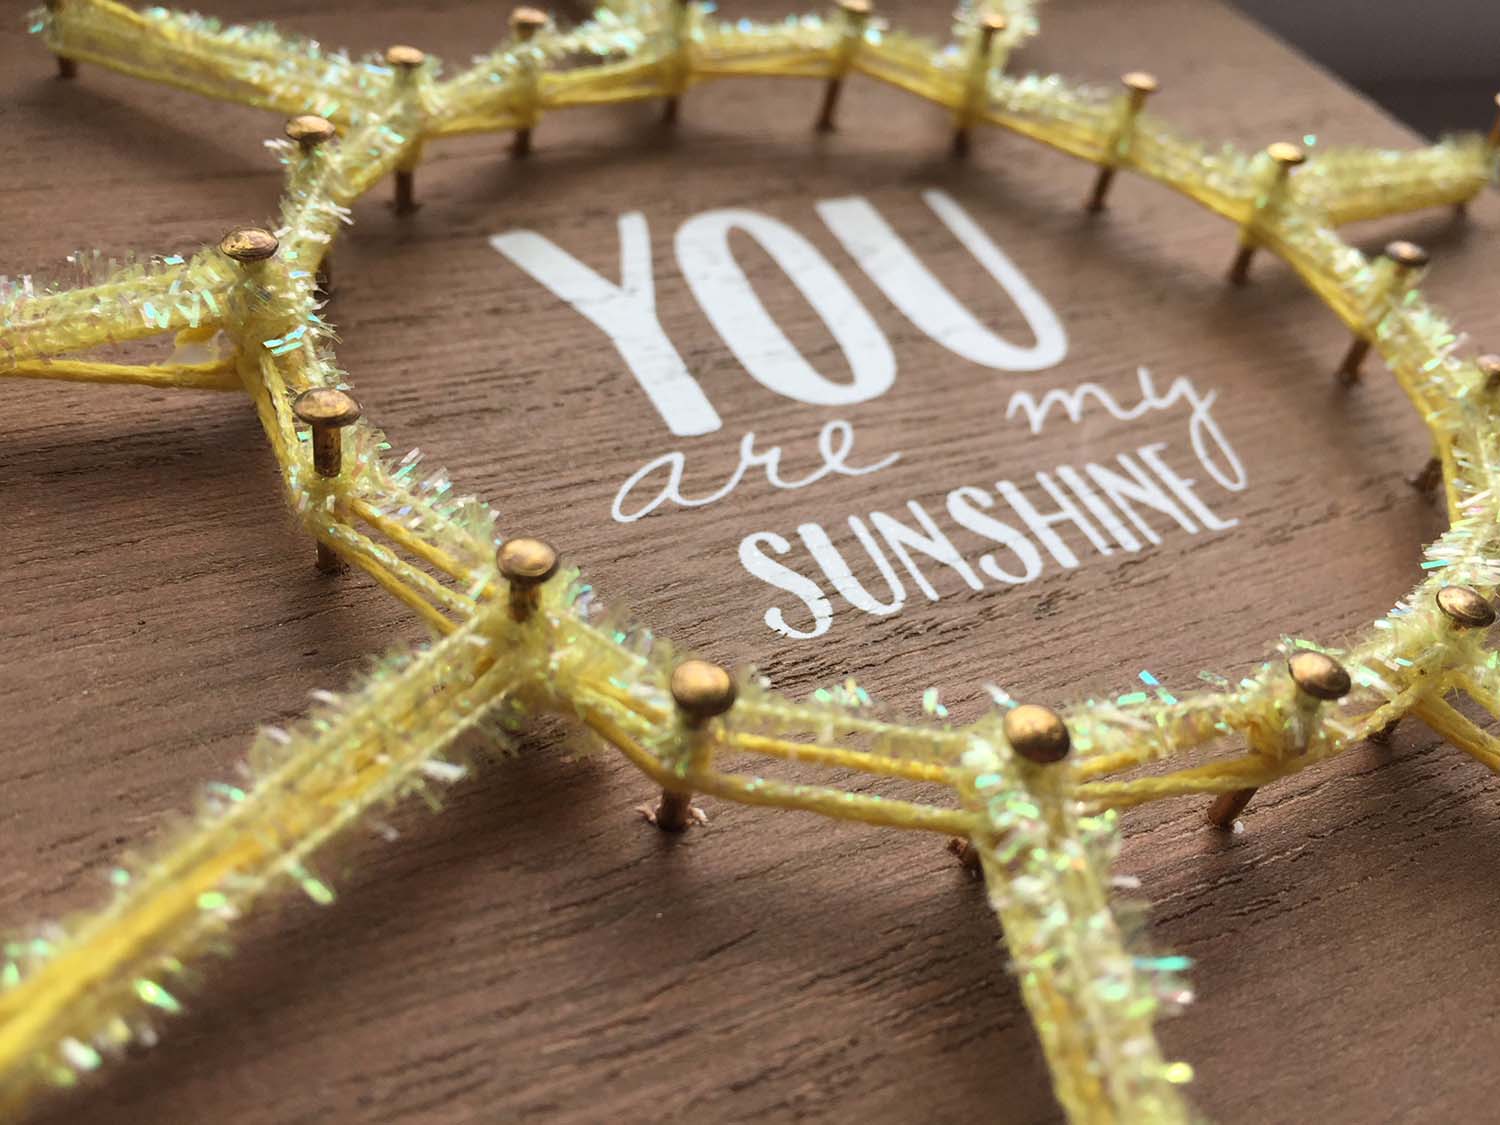
- One spool of Kreinik Micro Ice Chenille in Citron yellow
- One spool of Kreinik Tapestry #12 Braid in 054F glow-in-the-dark lemon-lime
Instructions:
- Purchase a string art design from a craft store, home goods store, or antique store
- With the scissors, remove the plain yarn currently wrapped around the nails that are in place on the design.
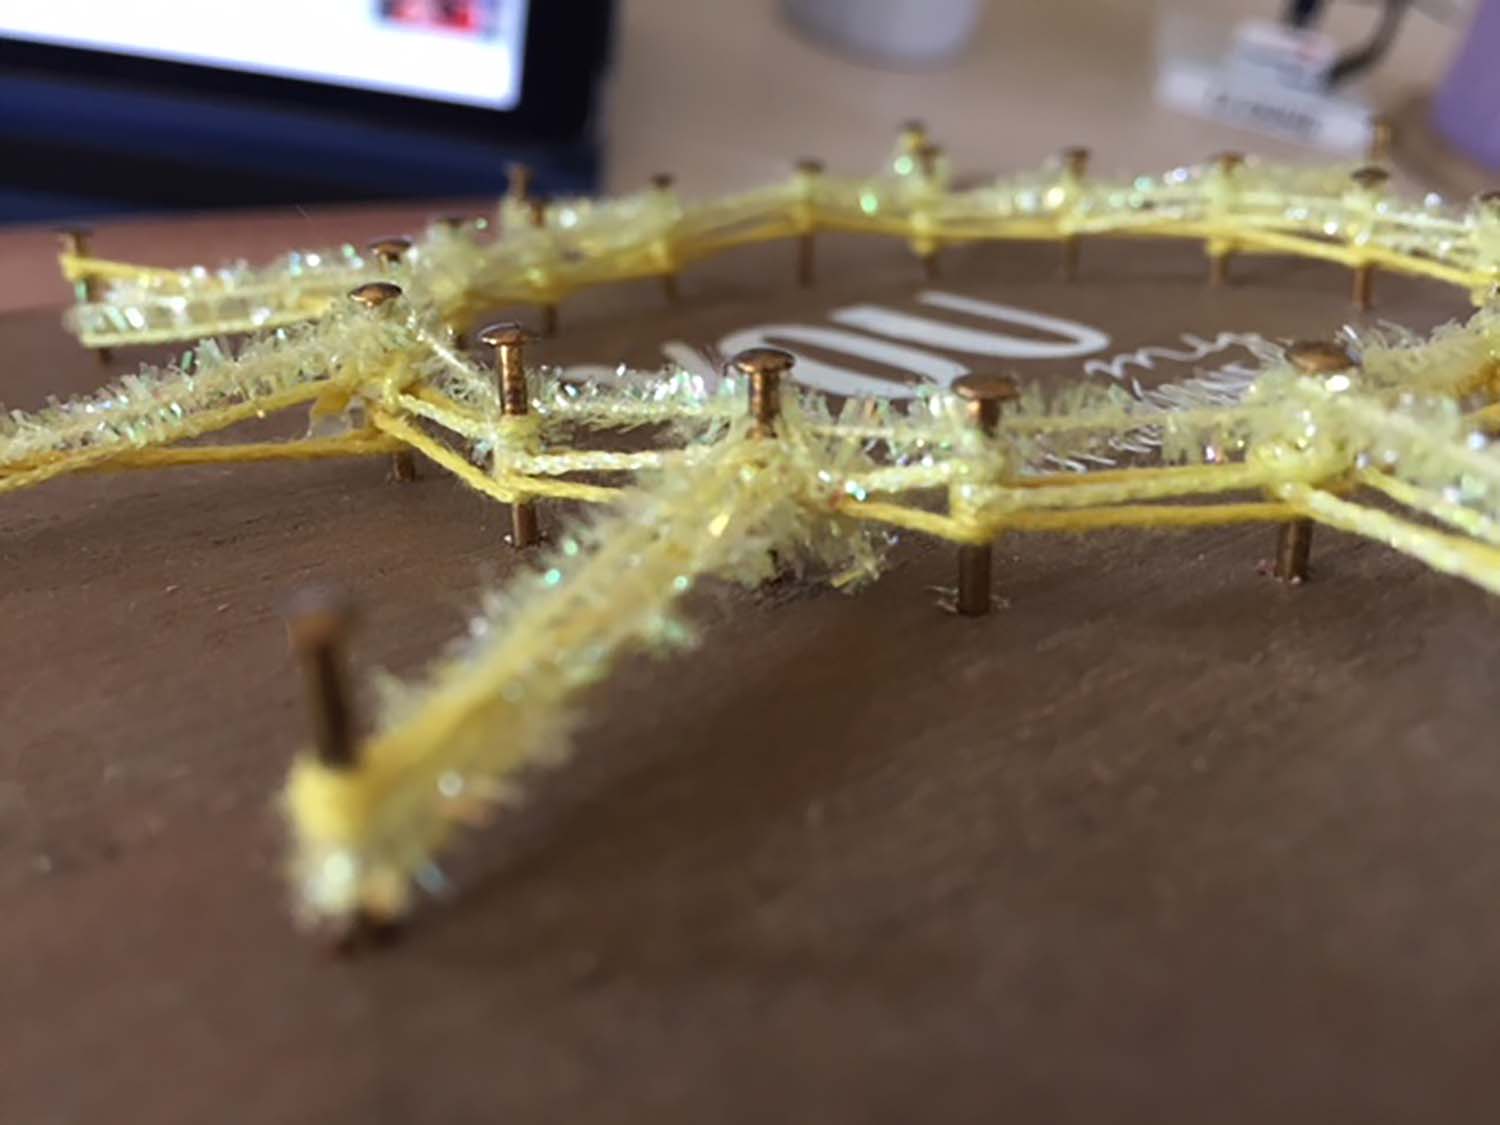
- Start wrapping with the new, fun threads using Micro Ice Chenille first. Tie one end around a nail, then start “stringing” it, wrapping it around the other nails at diagonals, or as desired. When finished with that thread, tie the end in a knot around a nail. With your finger, push the chenille down the shaft of the nail slightly to give you room for the next thread.
- Use the other thread, the Tapestry #12 Braid in the same manner, on top of the Micro Ice Chenille.
So easy, and so much better made with vibrant yarns of texture and special effects. String art with Kreinik threads opens up a world of creative possibilities. Everyone will want one of your creations. Start now and you’ll have all your gifts made for the rest of the year.
OPTION, if you want to create your own from scratch:
- Paint a wooden base your desired color and let it dry thoroughly.
- Draw or use cookie cutters or clip art outlines, cut them out, and temporarily tape them onto your dried wooden base.
- Hammer nails around the outside of our paper template.
- Decorate with threads by stringing the thread from nail to nail (tie thread ends around a nail and make a knot to secure beginning and end).
- Add words or embellishments around the string art with paint, stencils, or stickers.
Here's a video showing exactly how to make string art: https://youtu.be/DN8u0ODwDWI
Read more...


